
We’re kicking off 2020 with the release of CMS version 3.8.0 and a new MapsIndoors feature that will improve the user experience of MapsIndoors on kiosks.
Share directions from kiosk to phone
We have created a new route sharing feature for kiosks, which allows you to share directions from a kiosk to your phone.
A lot of large public facilities have kiosks near the entrances to give visitors an overview of the place as soon as they enter the building, and to get directions to their destination. However, remembering the entire route from point A to point B can be difficult if you’re in a big shopping mall, an airport, or a hospital.
With route sharing users can send the directions from the kiosk to their phone by typing in their phone number on the screen. They’ll receive a text message with a link that opens the MapsIndoors web application. The route is then shown in the web app, so they don’t need to type in their destination again.
Route sharing is an add-on to MapsIndoors.
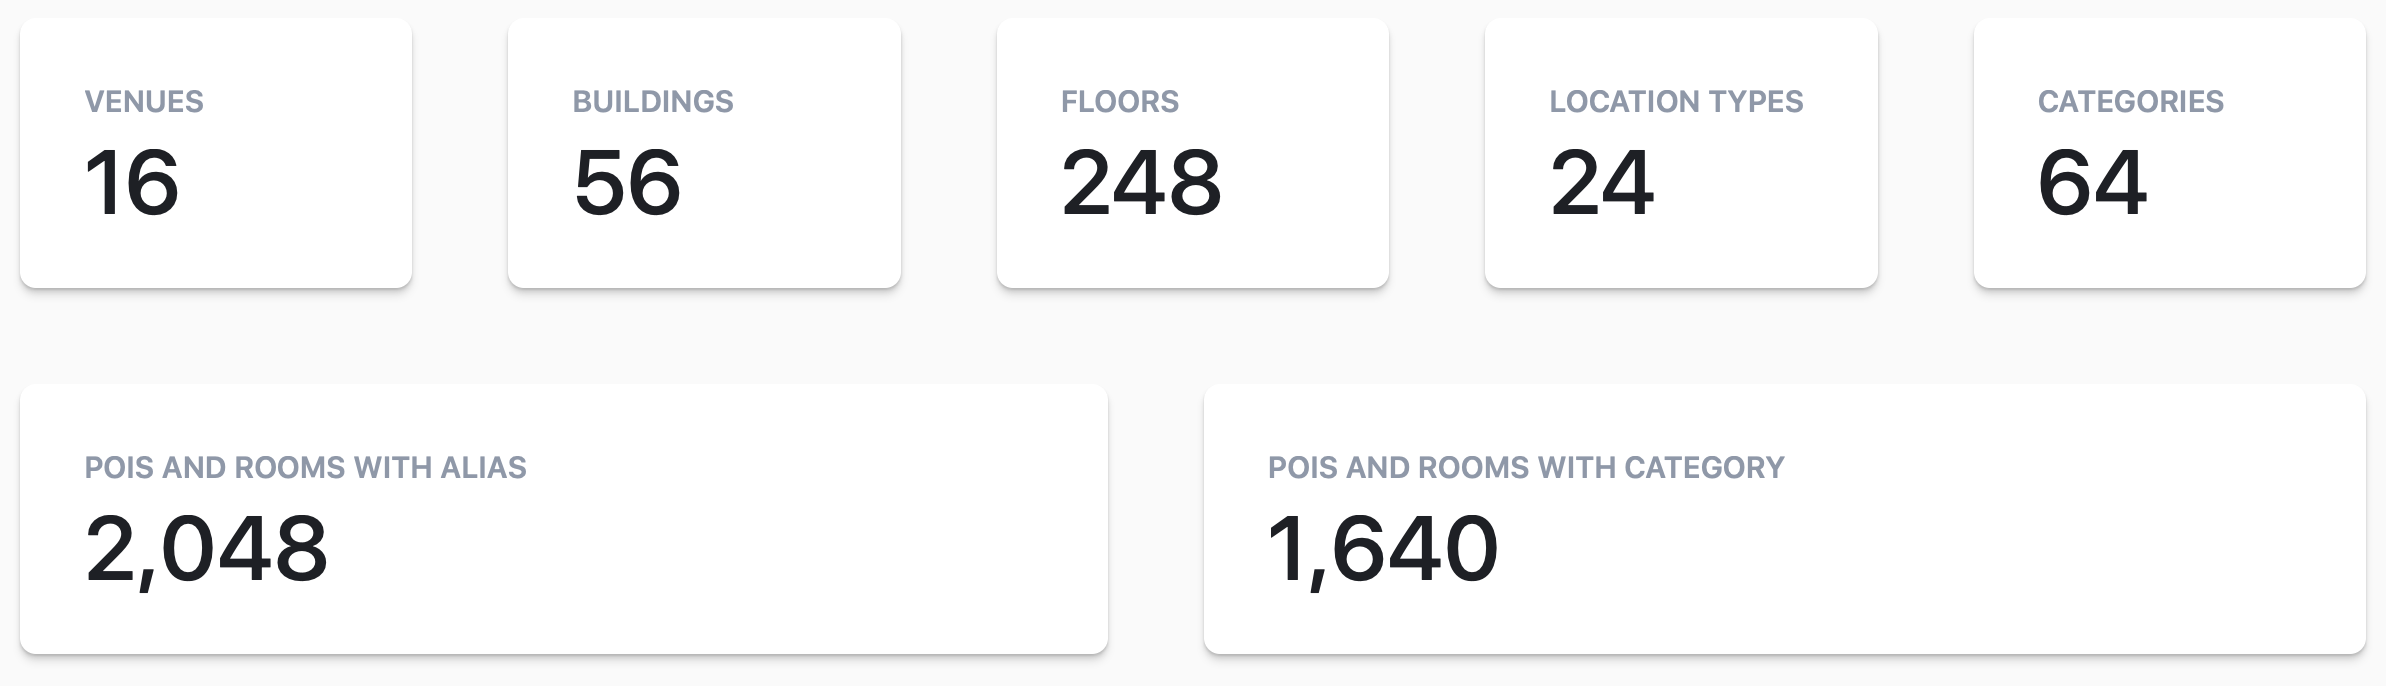
Analytics Dashboard
With the CMS version 3.8.0 released last week, we also released the very first version of our Analytics Dashboard. The Analytics Dashboard provides clients that have multiple Solutions with high-level metrics about their data. Moreover they can get insights into the details of their data, like seeing which Categories and Location Types exist in which Buildings, and detect discrepancies from that data. For instance, one Solution may call amenities “restrooms”, another “wc”, and a third “toilets”.
The Analytics Dashboard is an add-on to MapsIndoors.
Upload your CAD files to the CMS
With the new version of the CMS it’s now also possible to upload floor drawings in the form of CAD files (.dwg and .dxf) directly in the CMS. Once you’ve uploaded your file, our Deployment team is notified and will start digitizing your map. You can add one CAD file per Floor in your Venue.
How to upload CAD files for a Floor
Go to the Building you want to add a Floor drawing to. In the Building editor, click on “Add Floor” or “Update Floor”. In the form, type in the Floor name, select a CAD file, select any extra files (optional), and add any extra information that might help us in drawing the map. Click on “Upload”. When it is done uploading you can see the added or updated Floor name in the list of Floors.
Click on the button below if you want more product news from our development department.

January 31, 2020
.jpg)